As you already know, Discord is a free platform that you can use on your computer or mobile device to meet other users online.
In the beginning, you could only interact with people through chat, but with time, the platform has developed to the point that today, live streams are probably the most popular form of interaction on Discord.
The live stream has been around for a while now but there are still many users, especially those who are new to Discord, that are still struggling to figure out how it works.
In this article, we aregoing to share with you everything you need to know about how to stream on Discord.
Live stream on Discord
One of the reasons why live streaming on Discord can be confusing is that the process varies depending on what device you are using.
As we’ve mentioned, Discord is available as a web application on your computer, that you can access through your browser as though it is a common website and a mobile app for devices like smartphones and tablets.
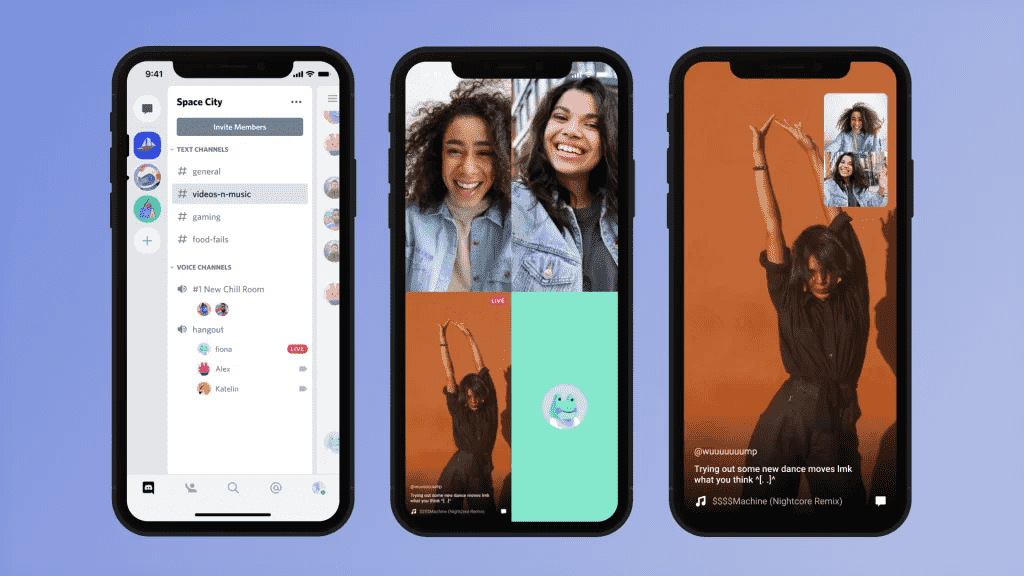
Discord Mobile is the mobile app version of the platform. There is an Android version and aniOS version.
Discord live stream from Android devices
Live streaming on Discord on an Android smartphone or tablet means sharing your screen while playing a game. This is how you do it.
Login to your Discord mobile app
Open the side menu and here tap the “+” button.
A list of options will appear. Select ‘Create your Server’.
Name your server and then upload an icon for it (tapping on Upload).
Tap on ‘Create Server’ to finalize the creation of the server
Now, on the side menu, tap on your new server.
Tap on the Voice Channel you want to share and then tap ‘Join Voice’. With this, you’ve joined the channel with audio
Tap ‘Screen Share’ and a pop-up will appear. It’s called Start Recording or Casting with Discord and you can tap on ‘Start Now’.
Now, you can open your game and start playing. Everything you do on the screen will be streamed on Discord. If you need to share any other type of content, the process is the same.
Make sure you deactivate your notifications, otherwise your audience will be able to see personal information, like who is messaging you.
To end the live stream, turn your game (or another app) off and open the Discord app again. Tap on ‘Stop sharing’. Your screen will no longer be shown to the audience. If you also want to close the live stream and video chat, tap ‘End Call’.
Discord live streaming from iOS devices
If you have an iPhone or an iPad, you can set up a new server following the same instructions we’ve given for the Android Discord app. Once you have logged in and your new server is set, follow these steps:
Select the server you’ve created from the Discord app and open the side menu
Here, tap on ‘Voice Channel’ so that you can join the voice chat.
On the pop-up that appears, tap on the confirmation button.
Now, tap on ‘Join Voice’ and provide authorization for microphone access.
Now, you can tap on the Camera icon that you can find in the bottom navigation bar. This is what starts a video call.
To share your iPhone screen on the live stream, tap on ‘Screen’.
Now everything you do on your phone would be shown on the video chat. If you want to stream a game, open the game and play.
Just like we’ve said for Android, if you want to share everything else that is not a game, you can follow the same steps. Always keep in mind that anything you do on the phone after you’ve tapped on the screen will be shared.
To end the live stream, tap on ‘End Call’.
Discord on computer
When it comes to computers, there are two different processes: the first is for Windows and the second for Mac.
Live stream on Discord from a Windows computer
From your computer, go to the Discord website and log in. Now, follow the steps below:
On the left side menu, click on the “+” icon.
On the pop-up window that appears, click on Create Your Server.
Now, click on ‘Create My Own’.
Enter a name for your new server and then upload an icon for it clicking on Upload.
Click on create to finalize and allow Discord a minute or so to create the new server.
Now you can invite friends and viewers to your server.
When you are ready to live stream, go to your new Server, and select a Channel.
Click on Voice channel to start a live chat.
To start live streaming, click on the Camera icon; then click on Screen.
On the pop-up that appears you can select the running application that you want to share on the live stream. So if, for example, you want to stream a game you’re playing, select the game application.
Now, everything you do on the game will be shared on the live stream. Unlike the mobile app, when you use the computer, you can select the single application to be shared which is safer.
Live stream on Discord from Mac
The process for Mac is just the same as the one for Windows. The only difference is that there is a Discord Mac application available, and you’ll need to download and install it.
After this, launch the app and log in. Create a new server, start a video call and then click on the Camera icon. Select the application you want to share and you’re done.
On both Windows computers and Mac, when you want to end the live stream, click on the Disconnect button.
Conclusion
As you can see, the steps to live stream on Discord are rather similar on every platform. Now that you know how to do it across the board, it’ll be even easier to stream and share your screen on Discord.